
So, I'm in laying in bed... about to go to sleep for the night. I'm all tucked in, lights out, and ready to catch some Z's before having to wake up for class at 9 AM. Then apparently, there was some kind of strange bug in my bed that bit me and made me decide to get up and make a cheesecake... at almost 12 AM. But I didn't just decide that I wanted to make a regular cheesecake - I wanted to try making a RAW cheesecake for the first time. I had never made one before but have seen many inspirational different versions from some of my favorite Instagram foodies. So, I decided to give it a shot!
It was super easy and turned out to be a total piece of cake to make (pun completely intended) and the best part - it's healthy! This treat is raw, vegan friendly, and contains no dairy or gluten. So really, there's nothing actually "cheesy" about it... but cheesecake sounds a lot better than frozen fruit cake, right?
There's definitely a few things I would do differently next time. For instance, I used frozen fruit for the filling, but it probably would have been better to let them thaw first (or just use fresh fruit). Also, the base (crust) could have been a little thicker. So please - bare with me with this impulsive, insomnia-induced recipe, make any necessary modifications you may wish, and stay on the lookout for an improved sequel! P.S. I've added links to all of the different brands I used for each ingredient!

Base:
- 1 cup of pitted dates
- 1 1/2 cup of almonds
- 1 small pinch of salt
Mango filling:
- 6 tablespoons of coconut oil
- 2/3 cup of coconut milk
- 3 tablespoons of fresh lemon juice
- 2 tablespoons of Agave nectar
- 2 cups of cashews (soaked in boiling water for 1 hour)
- 3 cups of mangoes
Strawberry filling:
- 1 teaspoon of vanilla extract
- 1/2 cup of dates
- 2 cups of strawberries
- 1 banana
Toppings:
- Fresh strawberries
- Edible flowers
(Actual size: 8 inches // serving size: 10-12)

Directions:
First, prepare your base. Soak the dates in a bowl of warm water for 20 minutes. Dates will sweeten the crust and soaking them in water will make the texture more pasty. Once they've soaked, drain the water and pat them dry. Add the almonds into a food processor and turn it on medium-high until they are all finely chopped. Once they are finished, add in the dates and pulse until you have a dough-like mixture. I have a Ninja food processor that I'm completelyyy in LOVE with! I use the "dough" setting and it makes my mixture the perfect texture.
I used a springform pan but if you don't have one, I'm sure a regular cake or pie pan would work just fine. I do believe it will be harder to remove the cake from a regular pan once it is frozen, though (due to the almost gooey-like texture of the crust before it's frozen), so I recommend lining the pan with parchment paper! Add the base to the bottom of the pan and spread it evenly around the circumference, kneading it flat.
For both of your different filling flavors, simply add all of the ingredients together in a blender and pulse until smooth. I used frozen fruit for each filling, but next time I am going to use thawed or fresh fruit to achieve a more desirable final texture. Pour each filling into the pan, starting first with the mango filing on top of the base and following it with the strawberry filling. Cover your cake with plastic wrap and place the pan in a freezer, letting it freeze until it is solid all the way through (I just left mine in there until I woke up in the morning... ya know, since I made this at 12 AM).
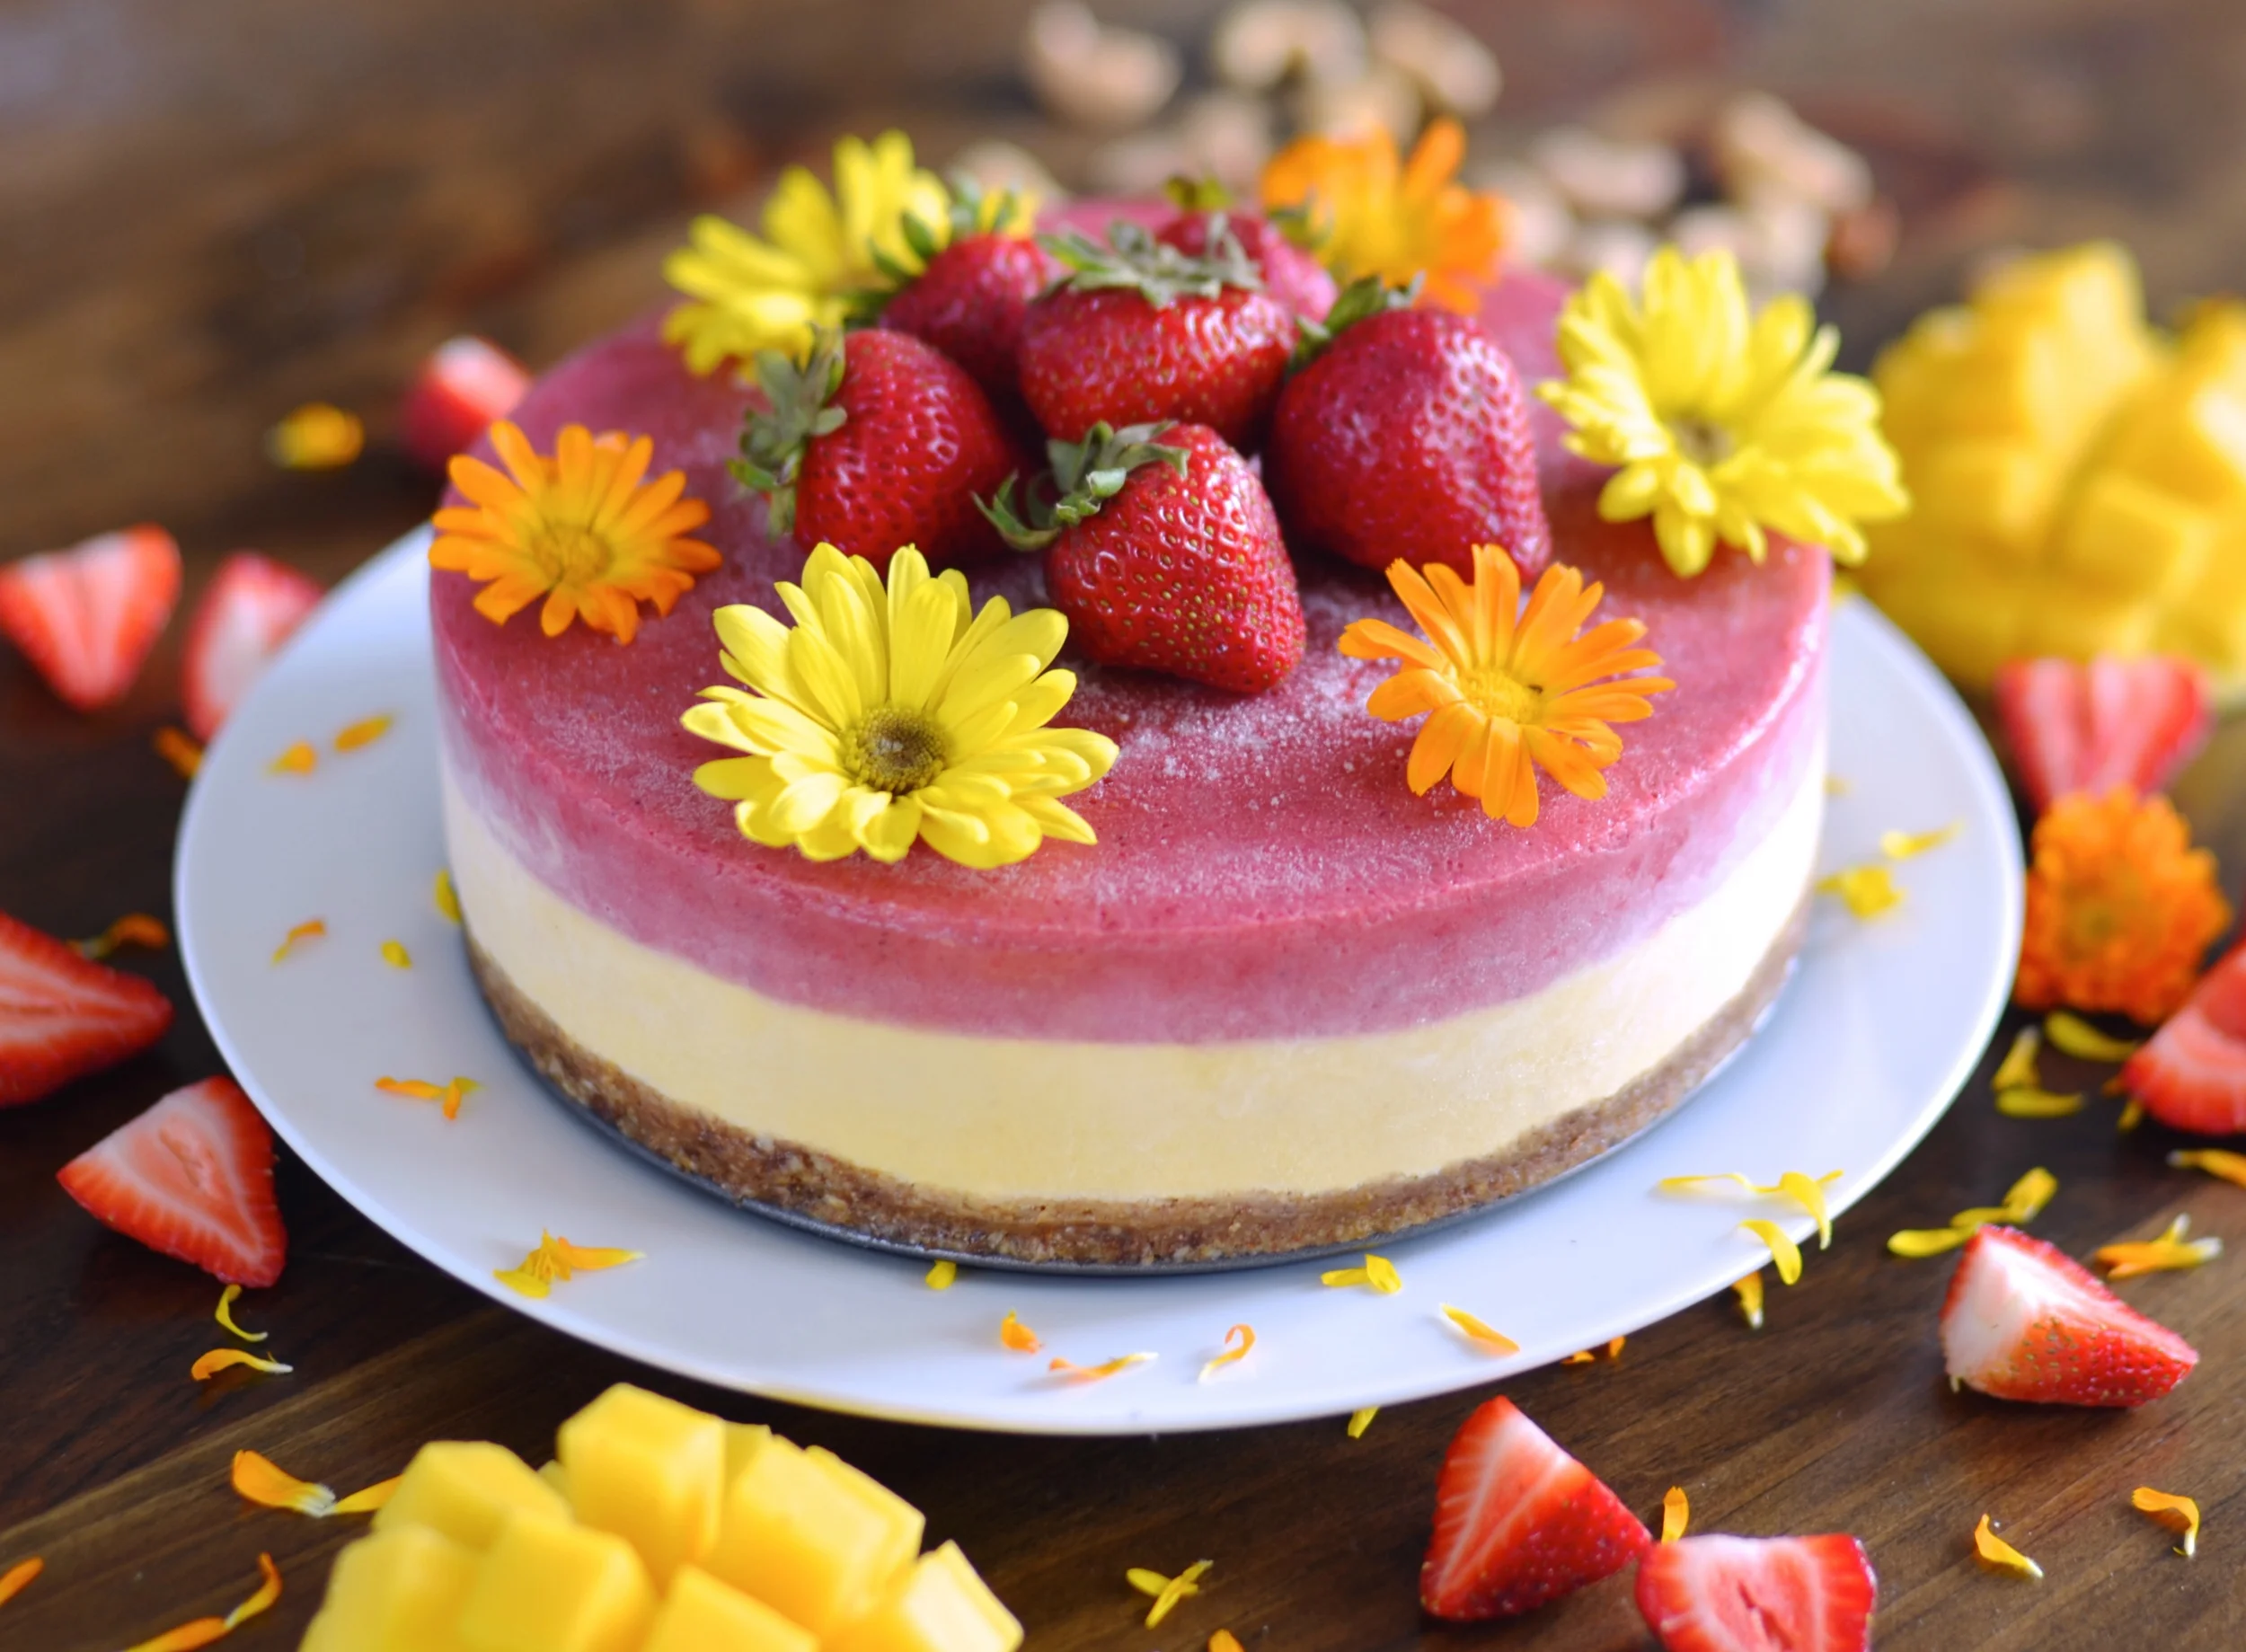
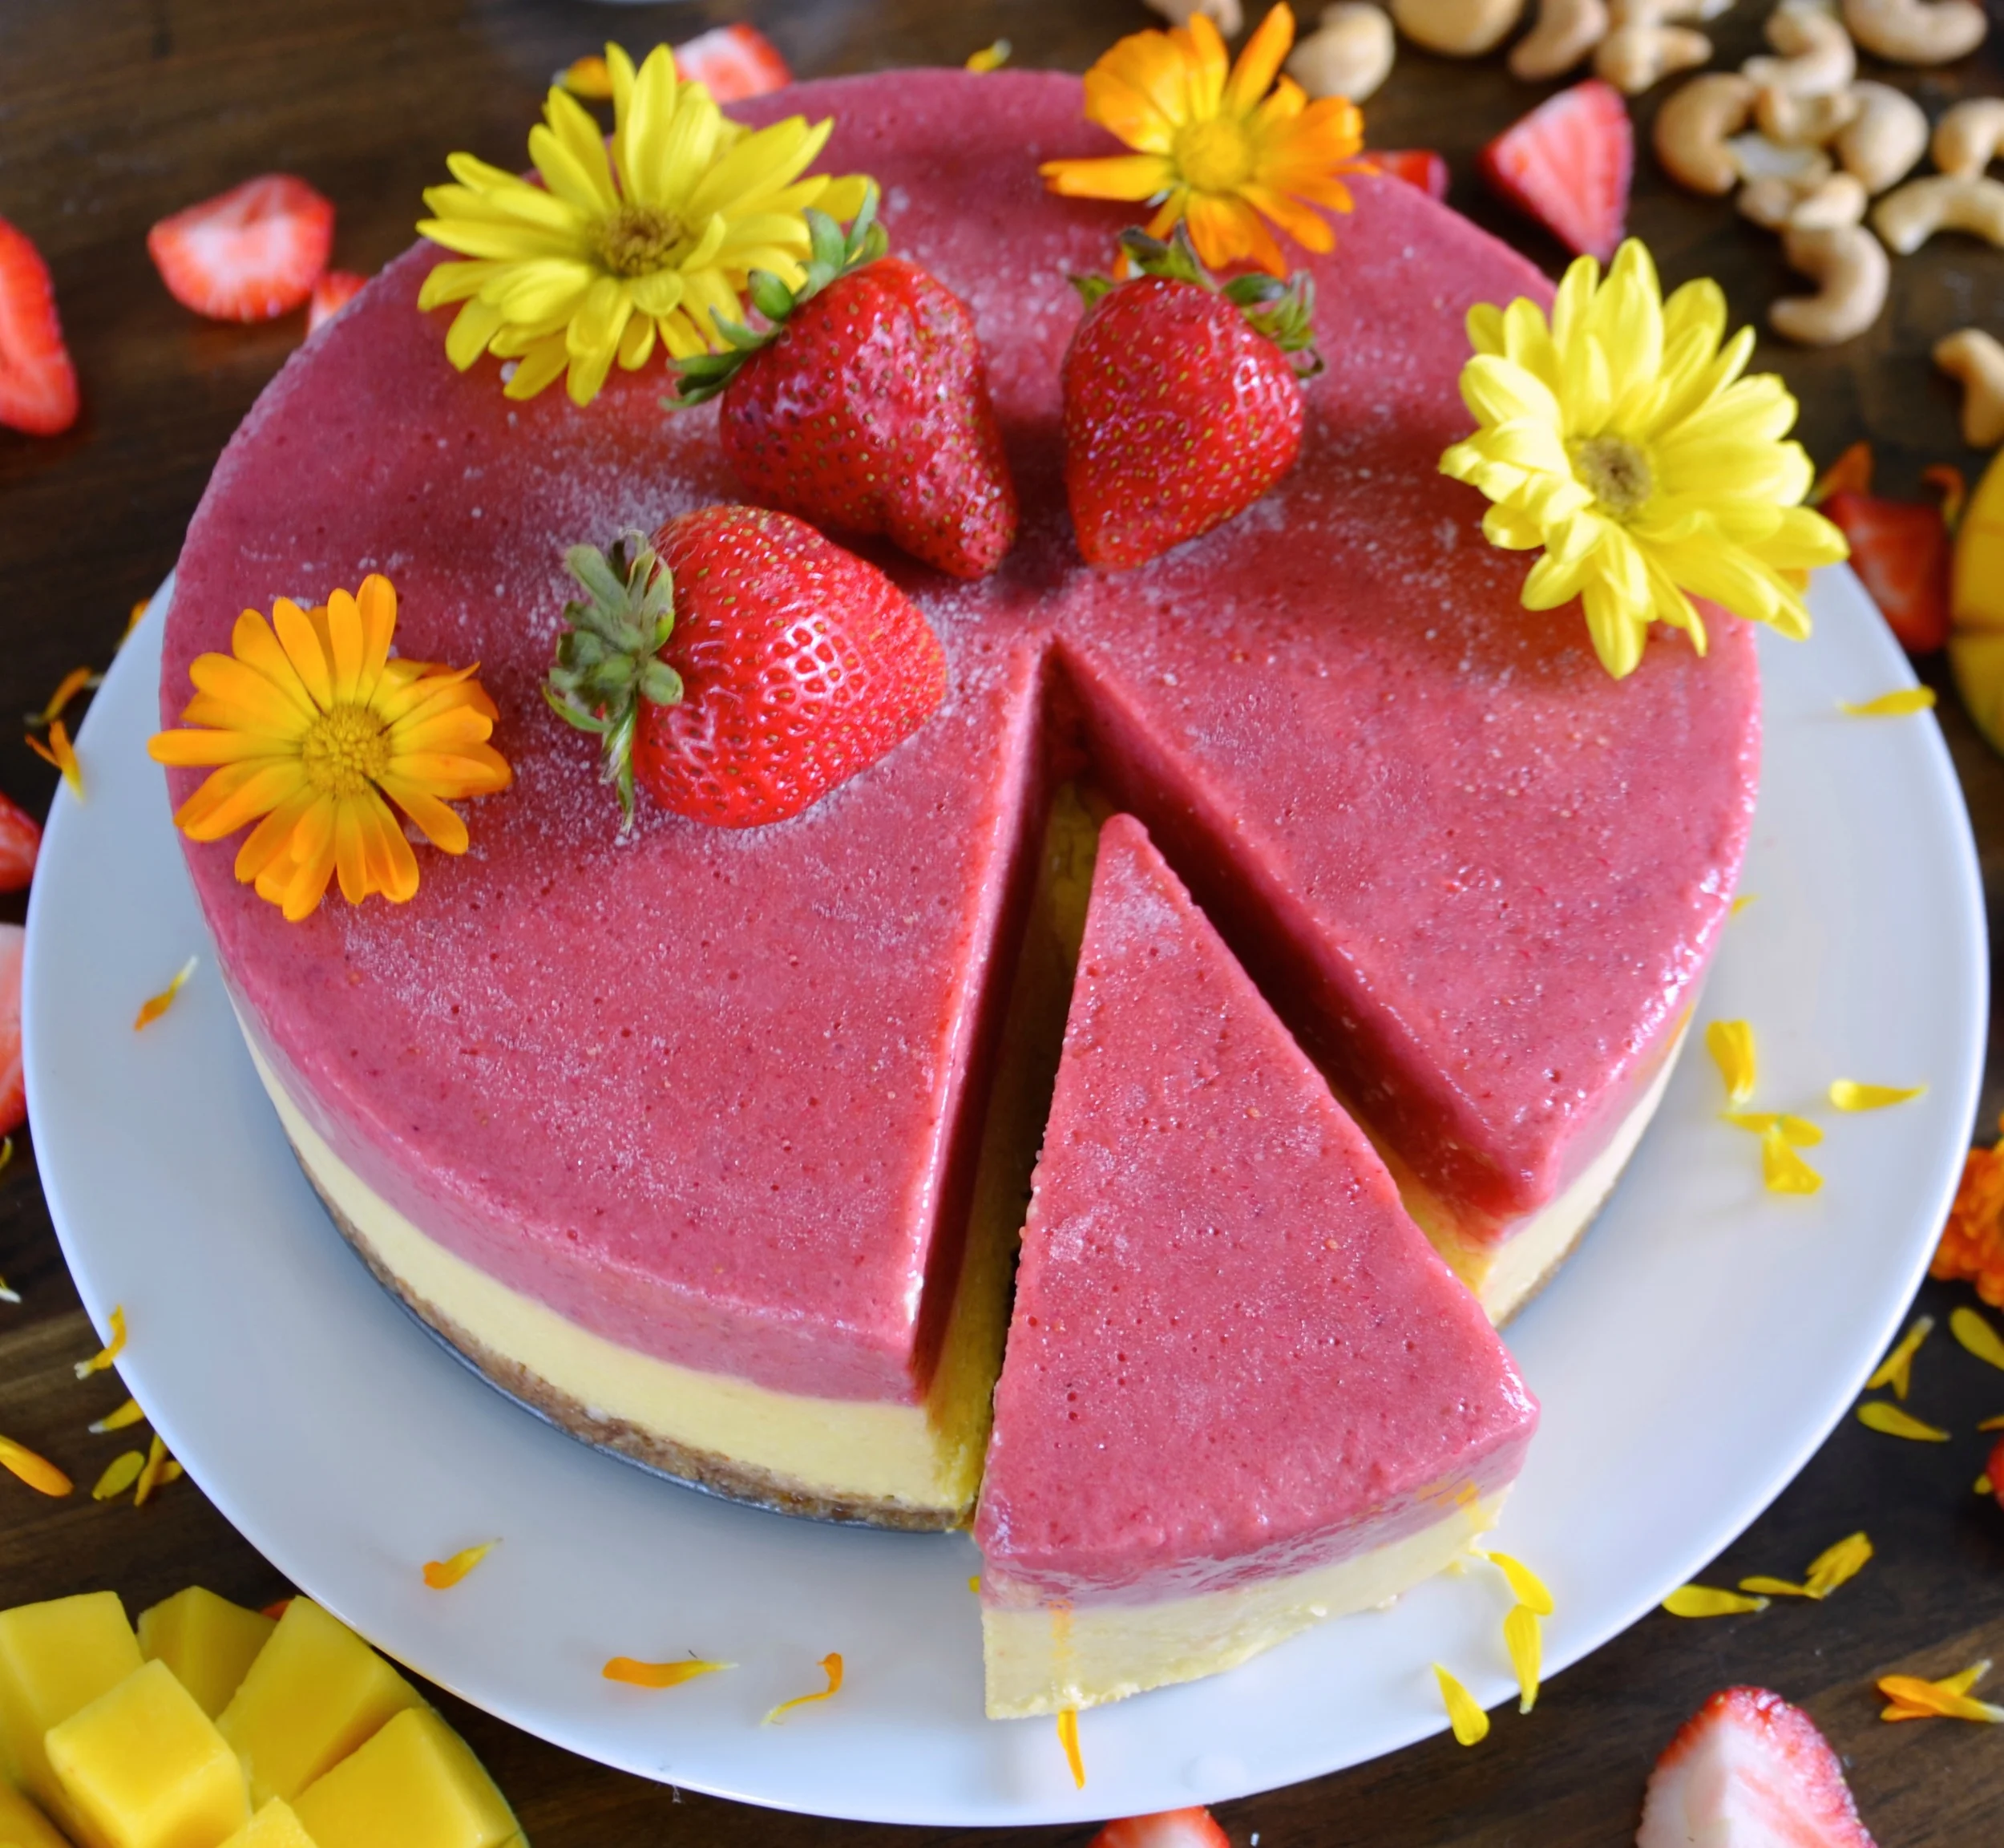
Last but not least, it's time to make your cake pretty! I added fresh strawberries on top, paired with edible flowers that I tried for the first time. I was honestly a little skeptical about them and thought to myself, "What am I? A rabbit?" Butttt, I think they were the perfect touch and they were pretty tasty too! Once you're ready to dig in, make sure you've allowed roughly 20 minutes for the cake to thaw so that cutting it won't give you a wrist fracture. If it's still a little tough to break in to, run your knife under hot water for a few seconds before cutting your slices.
Enjoy! :)