
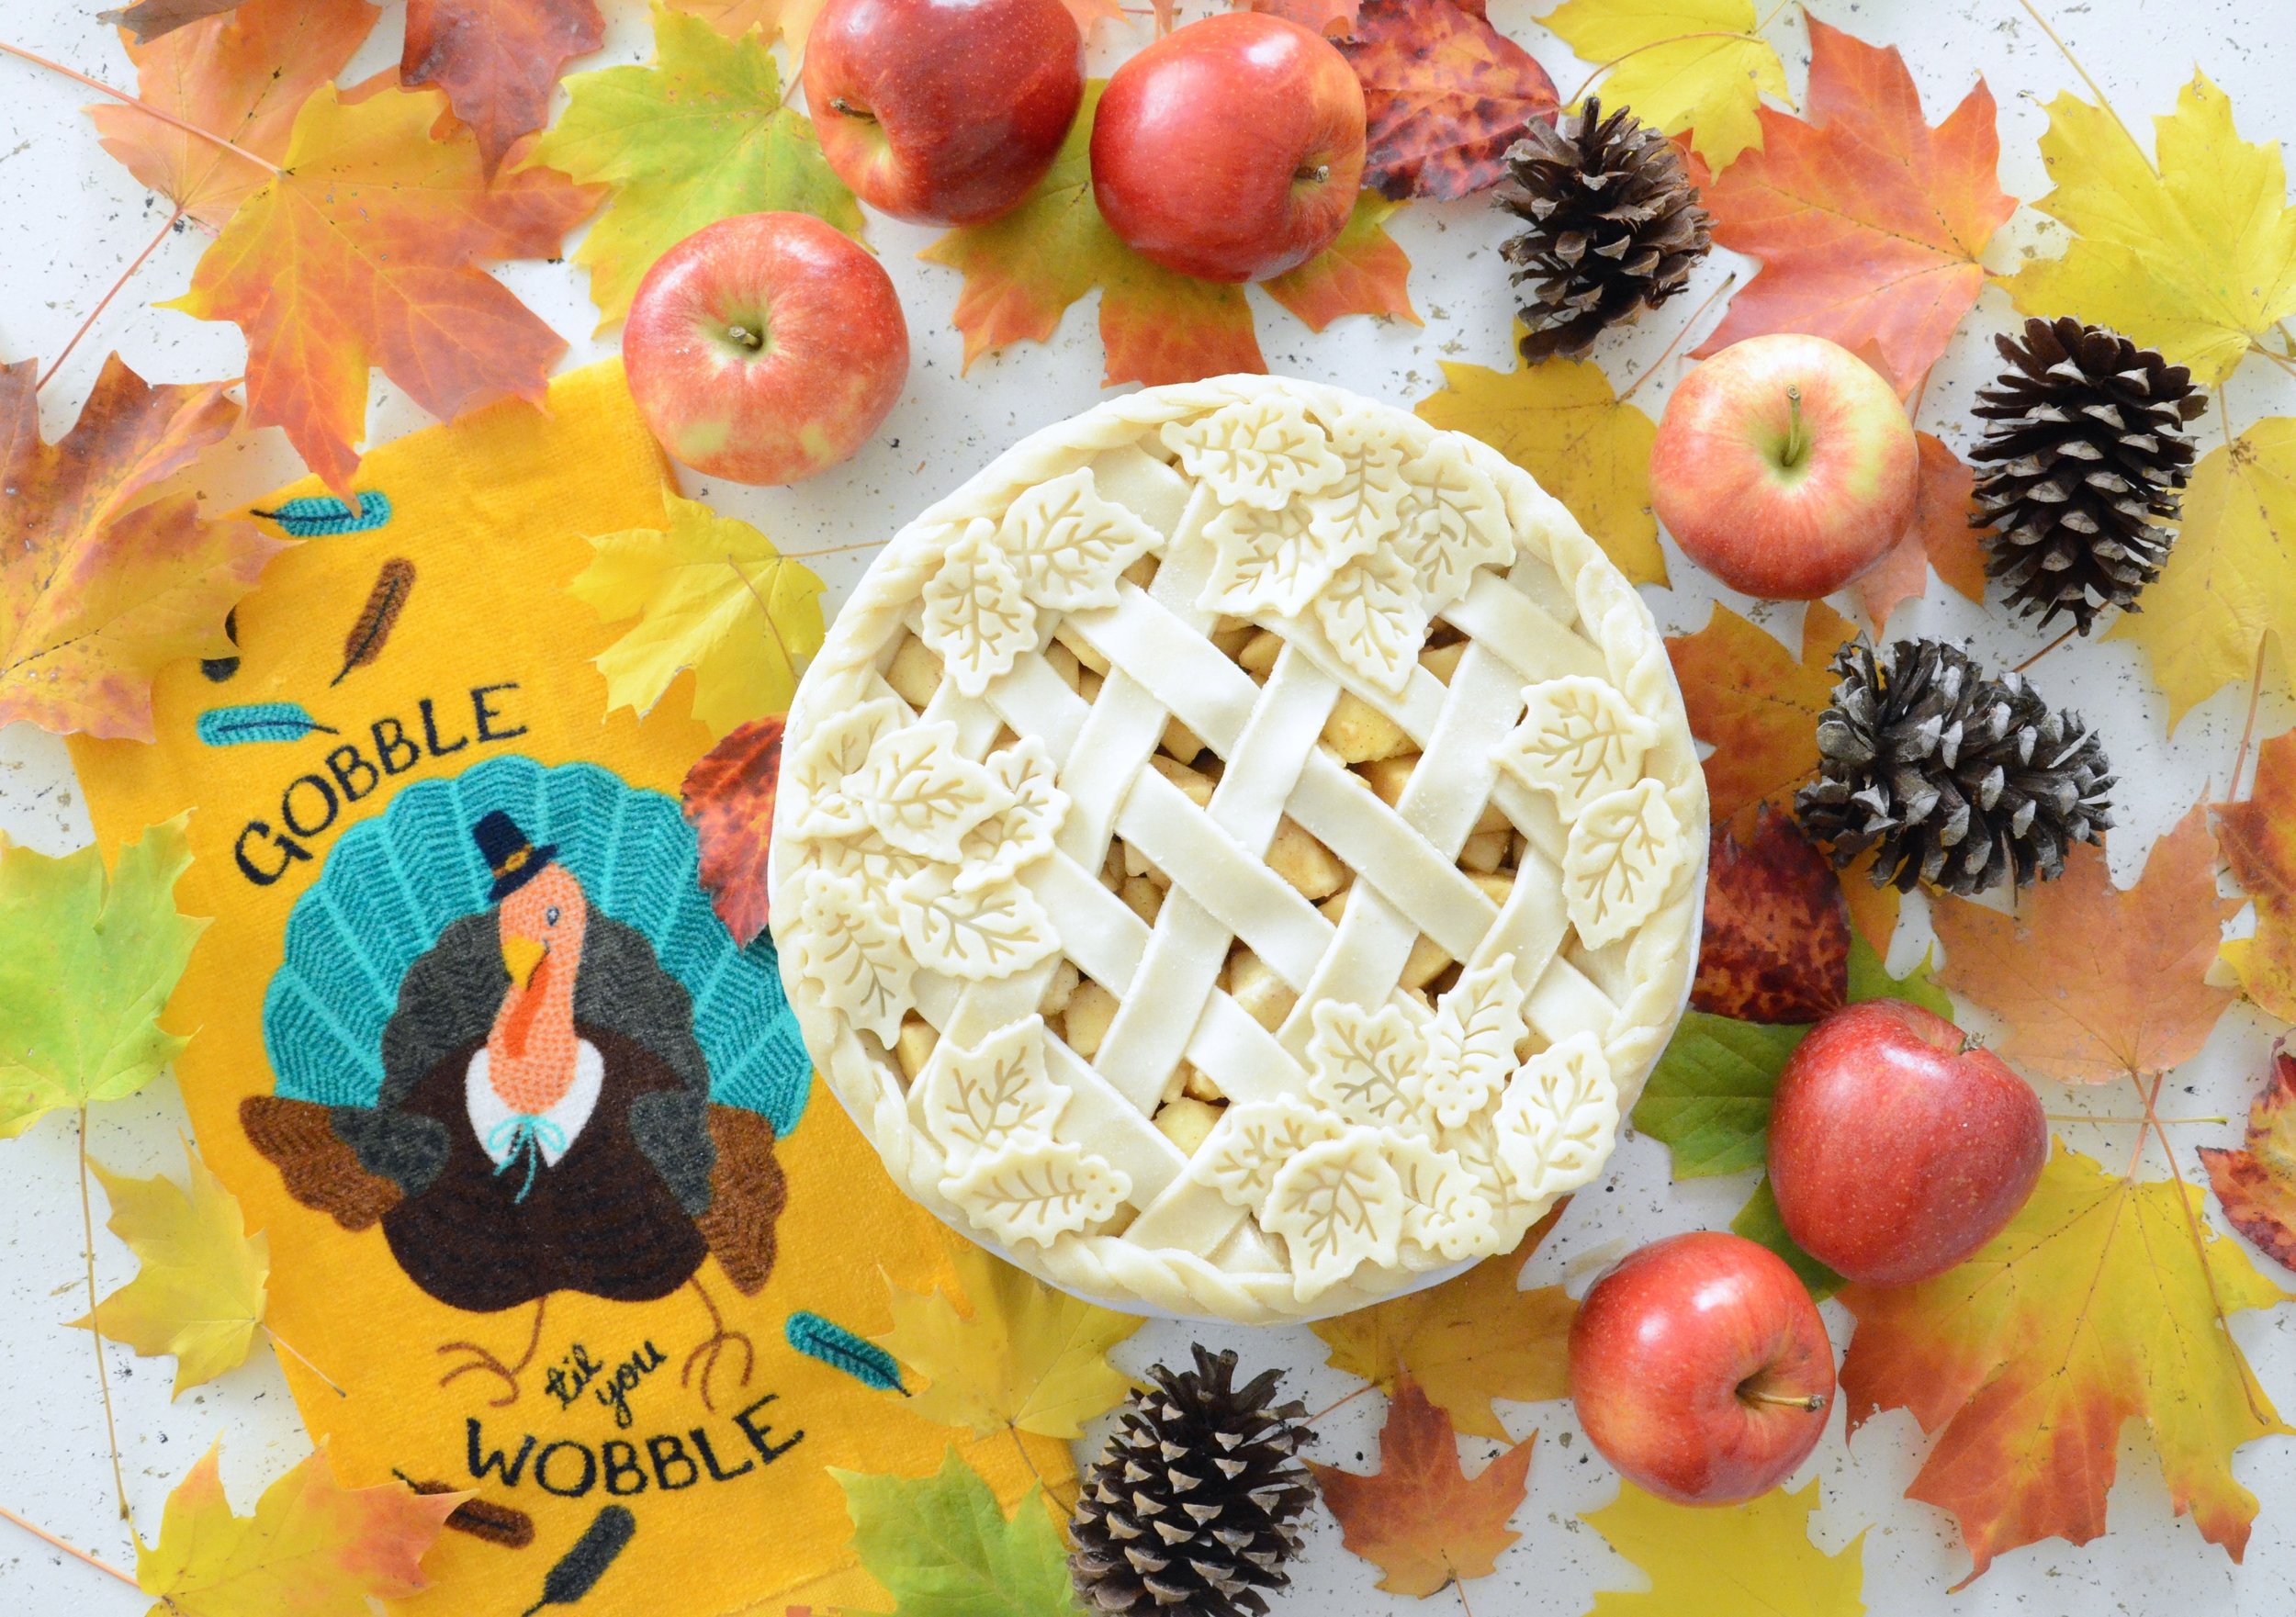
Hello everyone -- happy Saturday! I hope y'all had a wonderful Thanksgiving spent with family and friends and got to gobble 'til you wobbled! I made this tasty apple pie for my family and I and it was a huge hit. Of course with fall being my favorite season, I have a bunch of cute leaf-shaped cookie cutters. I used them for the crust to bring to life the crispness of the changing leaves outside in this pie!


Crust:
- 2 packs of Pillsbury pie dough sheets (comes with 2 each)
*I seriously suck at making homemade pie crust, so I prefer store-bought... makes my life a whole lot easier*
Filling:
- 4 Red Delicious apples and 4 Gala apples (chopped and peeled)
- 1/4 cup of sugar
- 1/4 cup of brown sugar
- 1 tablespoon of all-purpose flour
- 1 1/2 tablespoon of lemon juice
- 2 teaspoons of grated lemon peels
- 1/8 teaspoon of salt
- 1 pinch of nutmeg (to taste)
- 1 pinch of cinnamon (to taste)

Directions:
First, preheat your oven to 400 degrees. Next begin to prepare your apples for the filling. I have one of those handy dandy thingamabobs (pictures above) that cut out the core of the apple and divides it into 8 separate wedges. From there, all I have to do is cut the peel off of each wedge and thinly slice them (about 4 slices per wedge). Add each of the other ingredients into a bowl and toss them together until you have a uniform mixture (I just use a cheese grater to zest the lemon peels).
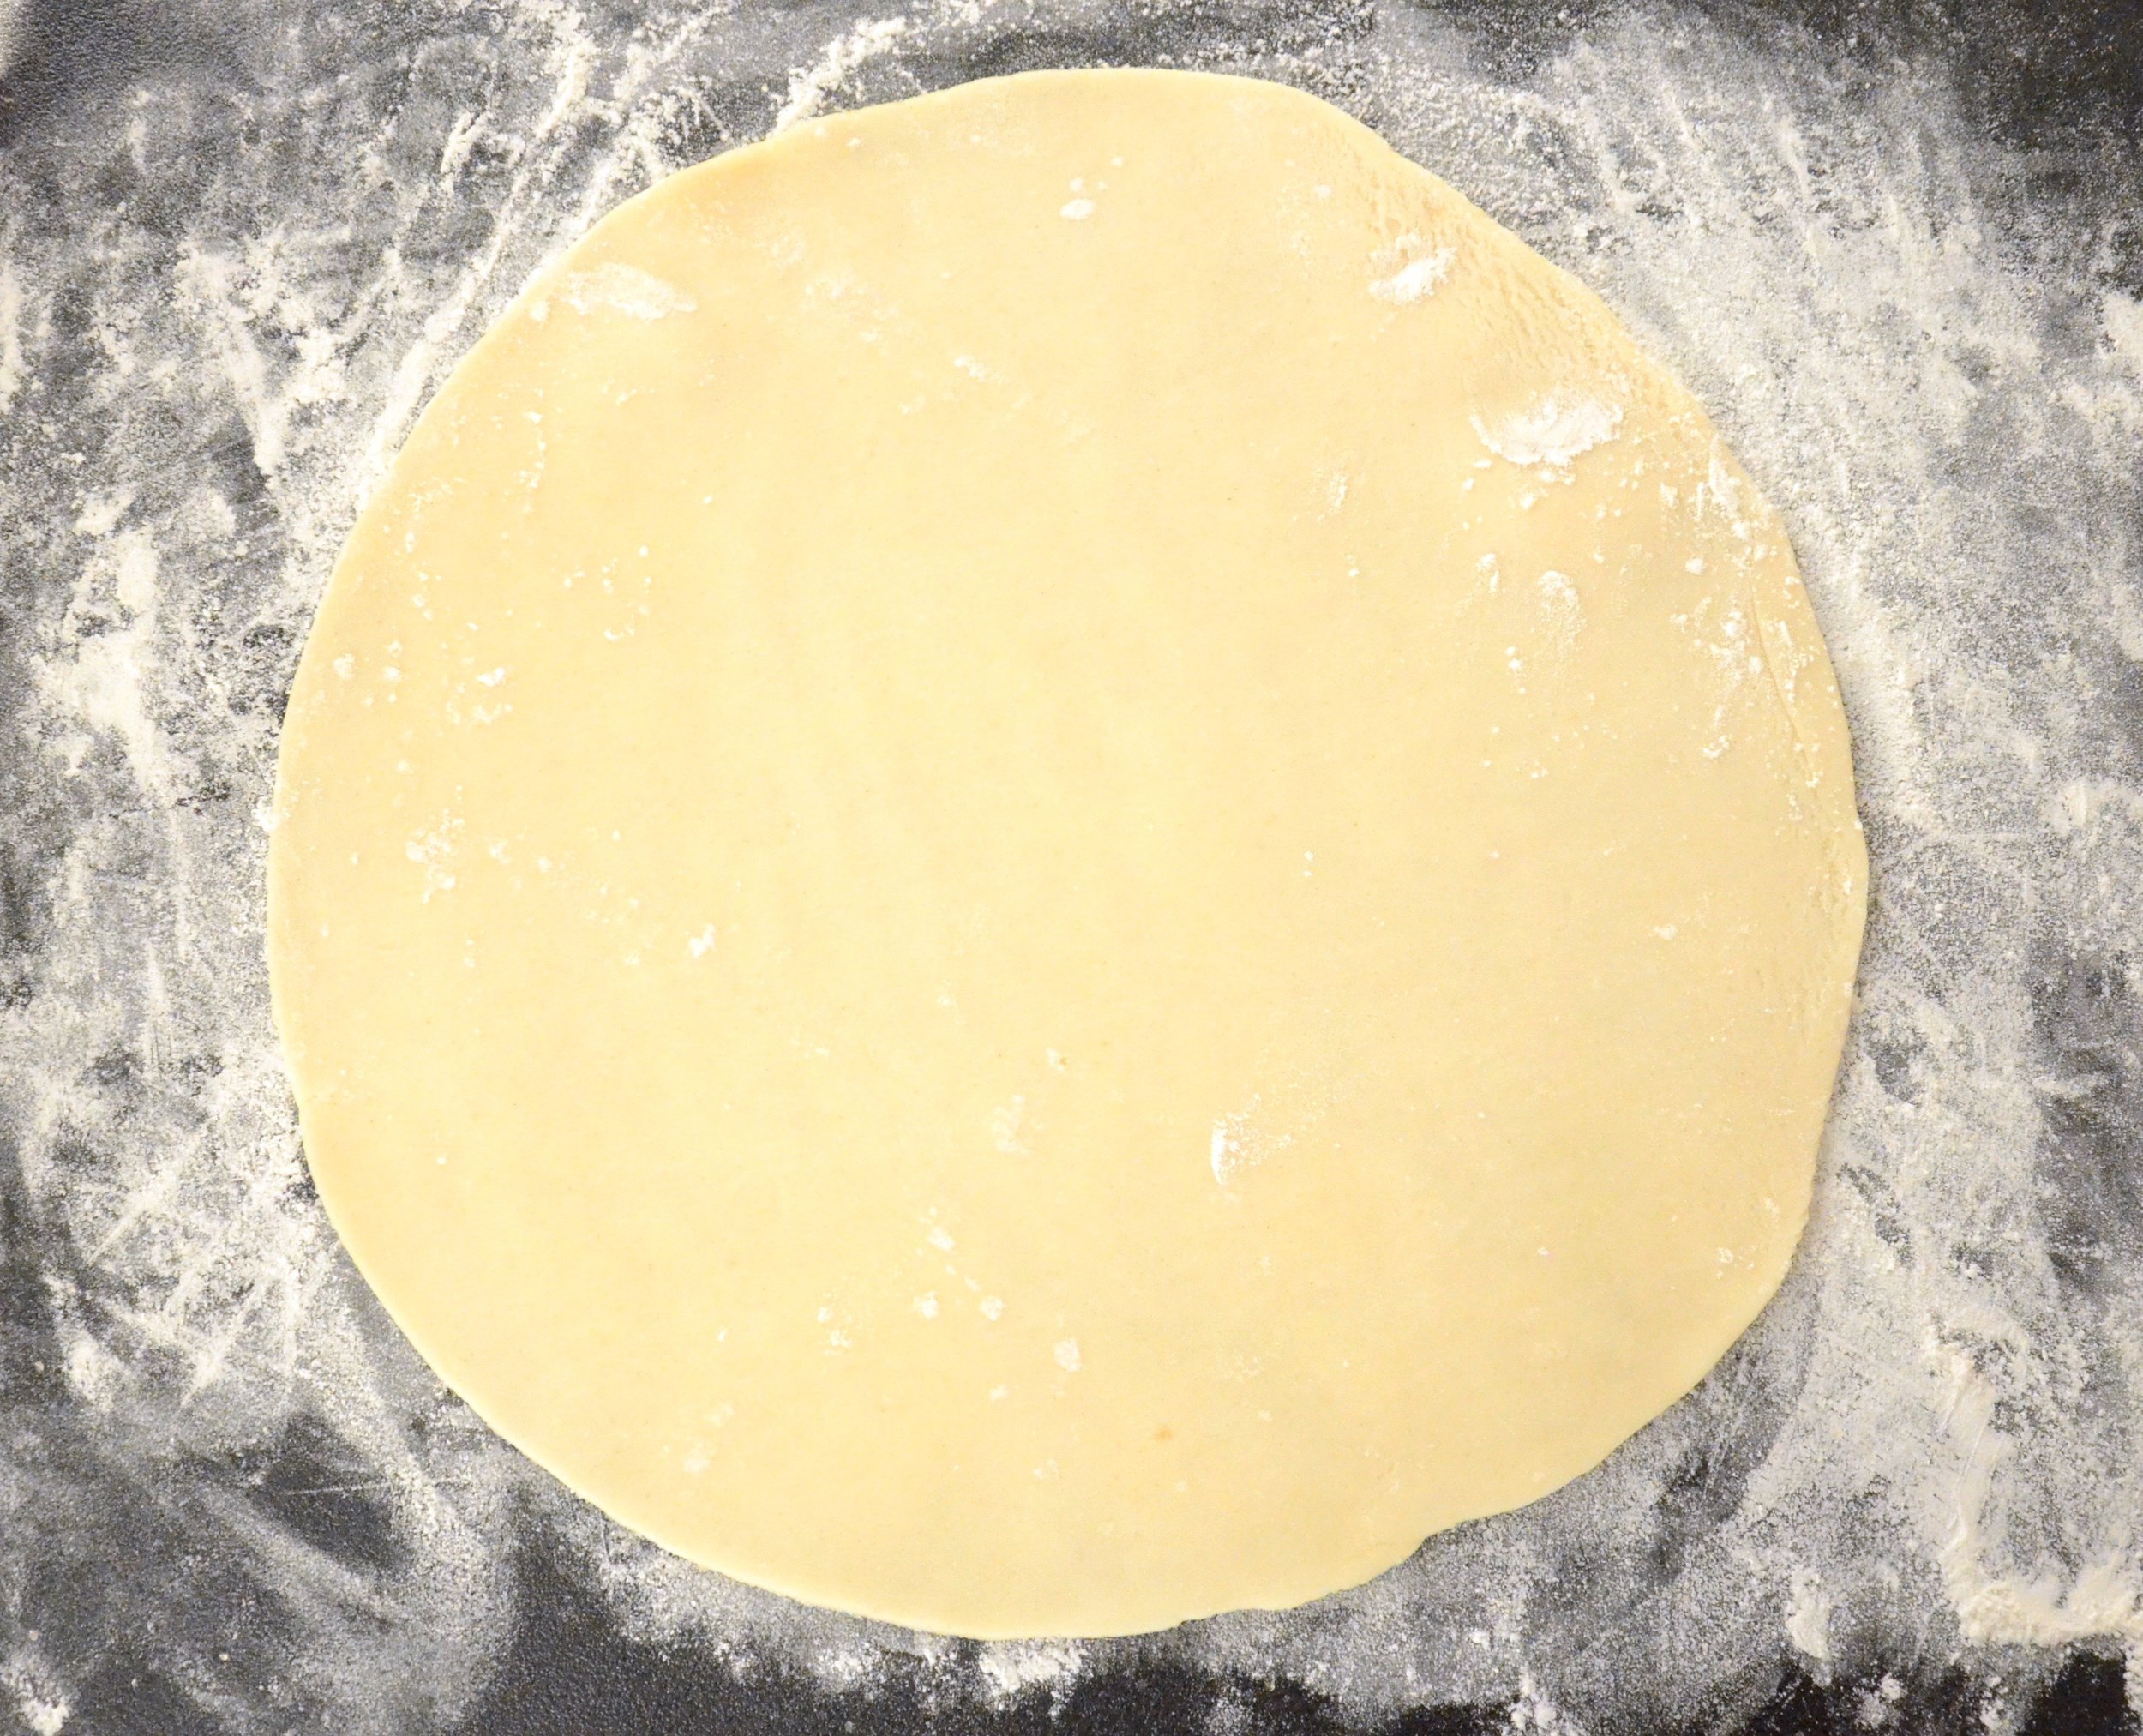
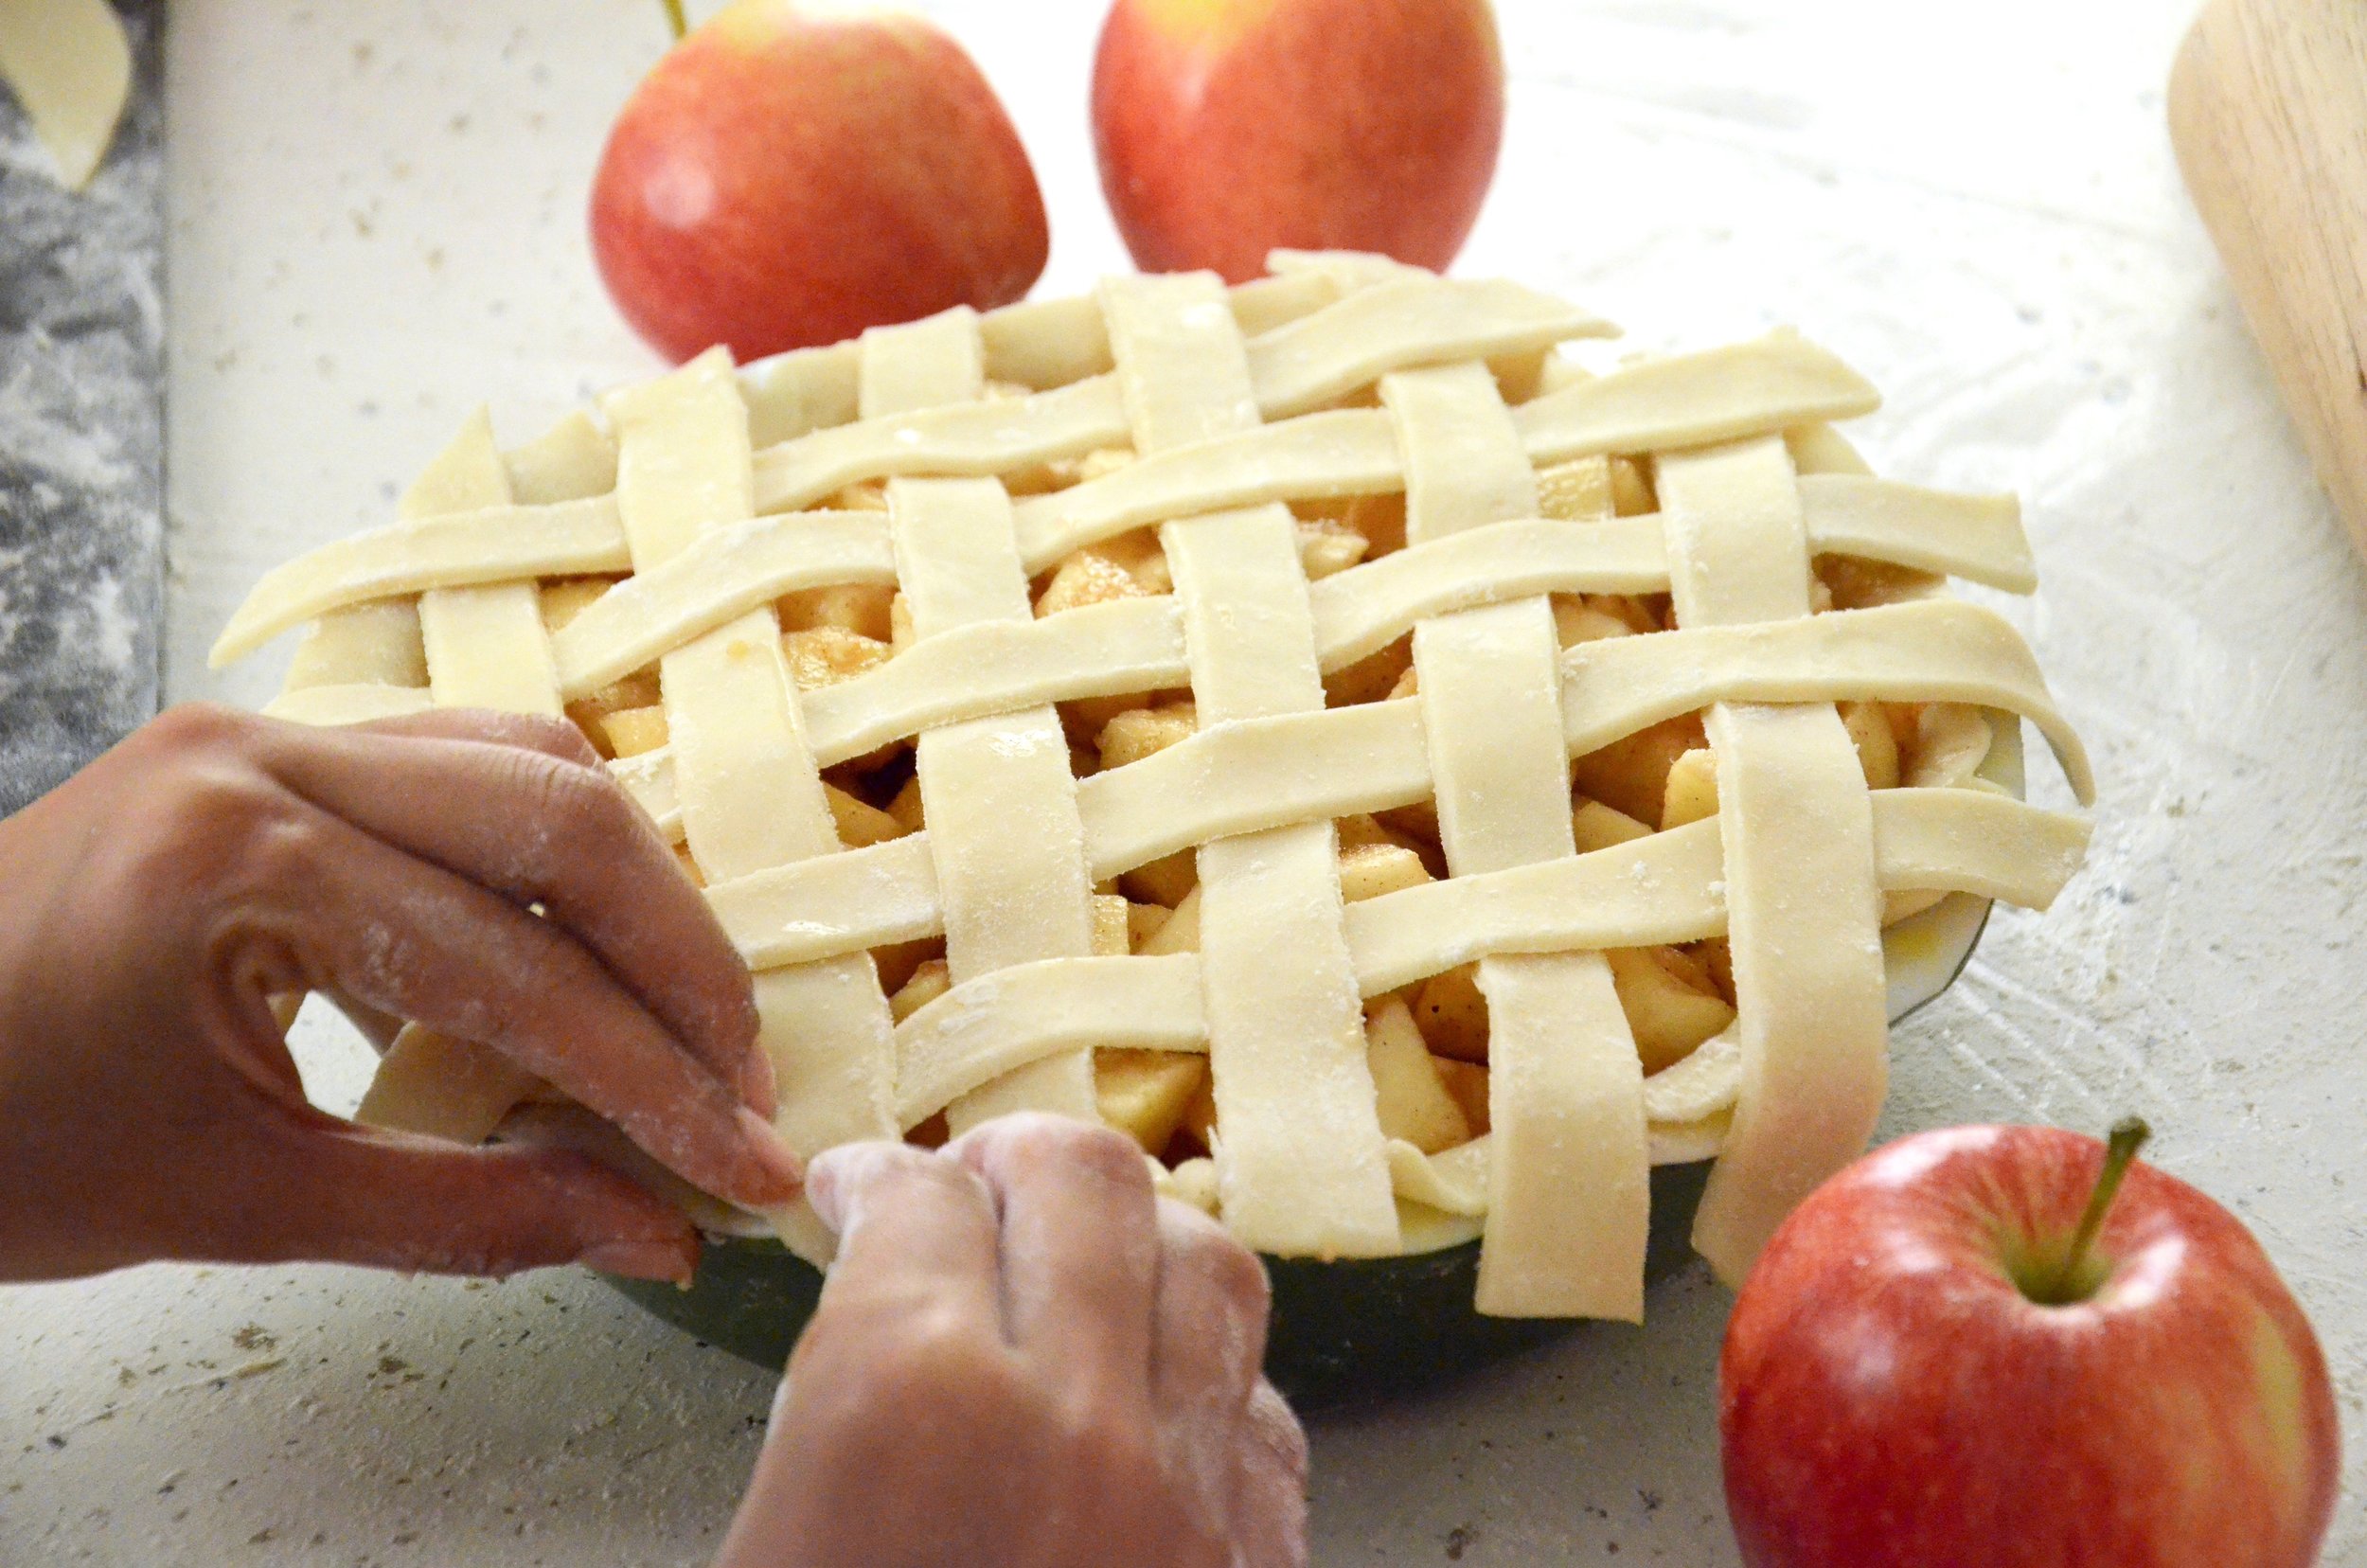
Lightly coat a pie pan with nonstick spray. Lay out some flour on a hard surface, pat some on your hands, and roll out one sheet of dough. Shape it into the bottom of the pie pan, kneading the edges to mold to the top of the pan. Next, add in the filling. Use another sheet of dough to form the lattice on top of the filling. Cut each slice about 1/2" thick and place them diagonally on top of the filling. Place the remaining pieces diagonally in the opposite direction and weave them in an over-and-under motion to achieve the lattice pattern.

This part can be optional, but I think it adds the cutest final touch and is the perfect way to achieve a festive fall/Thanksgiving theme! Use one final sheet of dough to cut out leaves for the crust, as well as the braided edge. To achieve the braided pattern, simply cut two thin strands of dough and twist them around each other.
Mix a little bit of olive oil and milk together and brush it along the top of the pie once it is complete. Wrap aluminum foil around the outside edge of the crust before placing the pie in the middle rack of the oven - it's a lot thinner than the middle of the pie and will begin to brown at a much faster rate. This prevents it from getting all bizzurnt and what not... ain't nobody got time for that. Lastly, pop that sucker in the oven! Cooking time will be roughly 1 hour, but I always check it on it at the 45-minute mark to make sure it's not cooking too quickly.
Allow it to cool down before serving - it tastes greaaaatttt with some vanilla ice cream or whipped cream on top! (P.S. I forgot to take a picture of it cooked... oops; you get the point though)


Enjoy! :)